什么是keepalive?
在平常开发中,有部分组件没有必要多次初始化,这时,我们需要将组件进行持久化,使组件的状态维持不变,在下一次展示时,也不会进行重新初始化组件。
也就是说,keepalive 是 Vue 内置的一个组件,可以使被包含的组件保留状态,或避免重新渲染 。也就是所谓的组件缓存
基本用法
<keep-alive>
    <component />  //你的组件
</keep-alive>
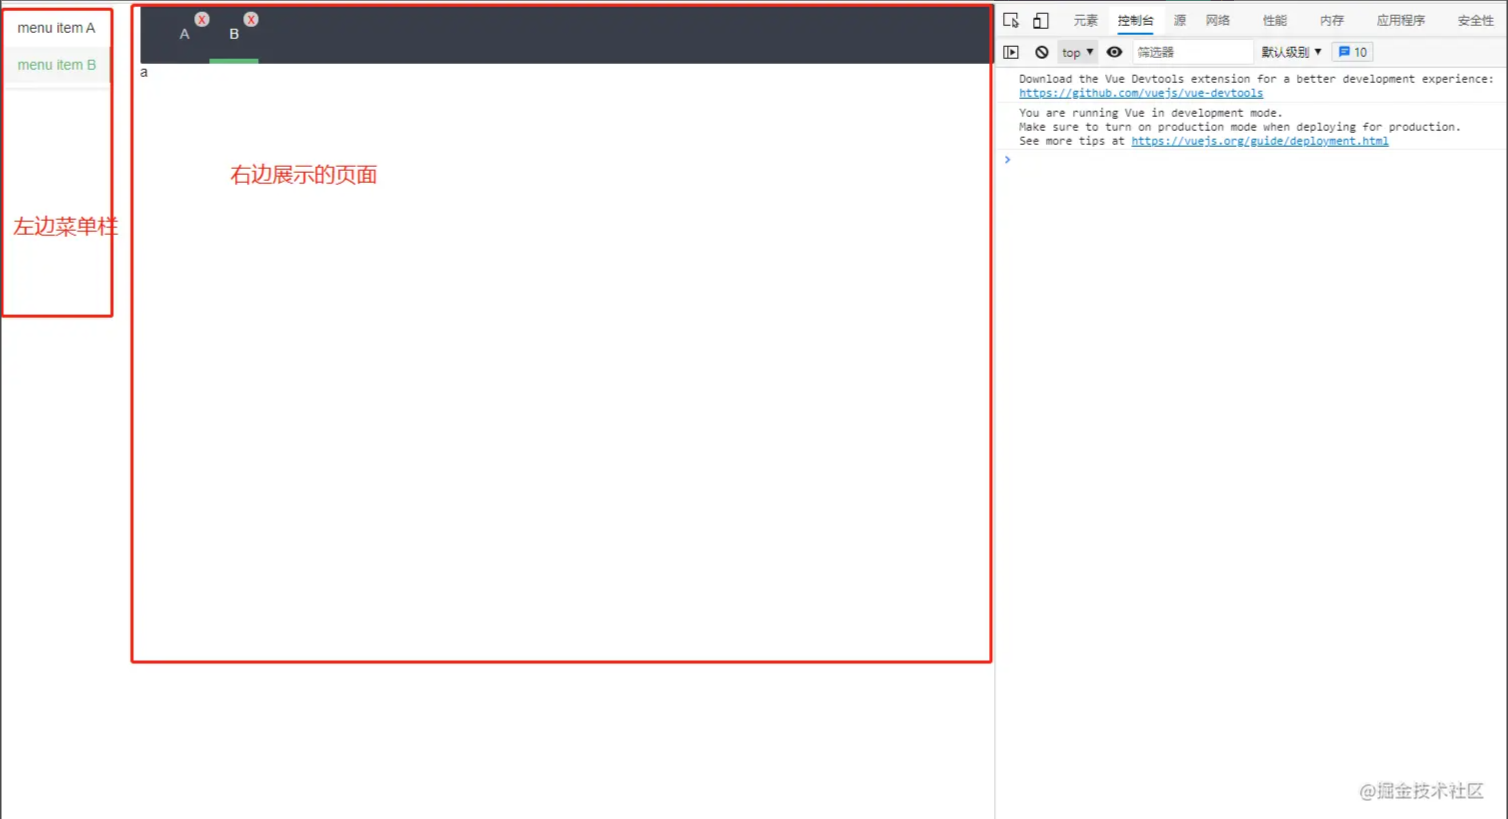
需求:从列表页进入详情页,再返回列表页时保留查询条件,但在切换其他tab时,清空查询条件。
解决:保留查询条件很简单,直接引入keep-alive,但是清除的话,vue本身没有api直接清除,所以要单独处理。
参考文章:http://aspedrom.com/5HD5
router/index,拦截路由并做处理:
beforeRouteLeave:function(to, from, next){
    // 增加离开路由时清除keep-alive
    if (from && from.meta.rank && to.meta.rank && from.meta.rank == to.meta.rank)
    {//此处判断是如果返回上一层,你可以根据自己的业务更改此处的判断逻辑,酌情决定是否摧毁本层缓存。
        if (this.$vnode && this.$vnode.data.keepAlive)
        {
            if (this.$vnode.parent && this.$vnode.parent.componentInstance && this.$vnode.parent.componentInstance.cache)
            {
                if (this.$vnode.componentOptions)
                {
                    var key = this.$vnode.key == null
                                ? this.$vnode.componentOptions.Ctor.cid + (this.$vnode.componentOptions.tag ? `::${this.$vnode.componentOptions.tag}` : '')
                                : this.$vnode.key;
                    var cache = this.$vnode.parent.componentInstance.cache;
                    var keys  = this.$vnode.parent.componentInstance.keys;
                    if (cache[key])
                    {
                        if (keys.length) {
                            var index = keys.indexOf(key);
                            if (index > -1) {
                                keys.splice(index, 1);
                            }
                        }
                        delete cache[key];
                    }
                }
            }
        }
        this.$destroy();
    }
    next();
},
同时在路由中添加meta:
{
    // 账号列表
    path: '/account',
    name: 'account',
    component: () => import('../views/account/index.vue'),
    meta: { title: '账号列表' ,rank:1.5}
  },
  {
    // 添加账号
    path: '/accountadd',
    name: 'accountadd',
    component: () => import('../views/account/add.vue'),
    meta: { title: '添加账号' ,rank:2.5}
  },
  {
    // 编辑账号
    path: '/accountedit/:id',
    name: 'accountedit',
    component: () => import('../views/account/add.vue'),
    meta: { title: '编辑账号' ,rank:2.5}
  },
  {
    // 角色列表
    path: '/role',
    name: 'role',
    component: () => import('../views/role/index.vue'),
    meta: { title: '角色列表' ,rank:1.5}
  },
总结
到此这篇关于vue使用keep-alive后清除缓存的文章就介绍到这了,更多相关keep-alive清除缓存内容请搜索NICE源码以前的文章或继续浏览下面的相关文章希望大家以后多多支持NICE源码!